7 Tips for Buying a 60 Inch Sliding Glass Door
Buying a 60 Inch Sliding Glass Door can change how a room feels, but the measurement is only one part of the decision. A beautiful glass panel will not perform well if the rough opening is uneven. Measure the width at the top, middle, and bottom. Measure twice. Record the smallest figure. Check the height, wall thickness, sill condition, and available clearance for the sliding panel. A few millimeters can affect installation, weather sealing, and daily operation.
This guide presents seven practical tips based on common installation concerns and careful product comparison. It explains how to assess tempered or laminated glass, energy performance, frame materials, roller quality, drainage, locks, and warranty coverage. Look for documented specifications rather than polished product photos. A low-profile track may look elegant, yet it can collect grit near a patio entrance. Rollers should move smoothly without scraping or excessive play. Local climate also matters; windy or wet locations demand stronger seals and reliable water management. Professional installation is often worth considering, especially when structural changes or heavy glass are involved. Still, even experienced homeowners can miss hidden framing problems. That is worth remembering. The right door should match the opening, the building, and the people using it every day—not merely the room’s style. Expect trade-offs between price, insulation, security, and appearance. Careful choices prevent expensive adjustments later.
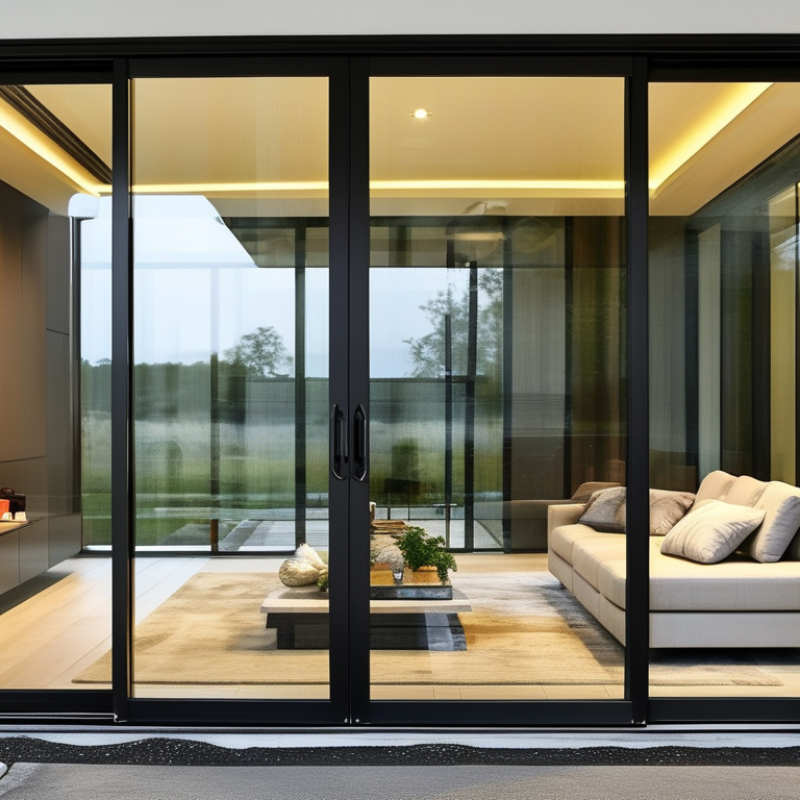
Understanding 60-Inch Sliding Glass Door Sizes and Configurations
A nominal 60-inch sliding glass door usually measures about 60 inches wide and 80 inches high. However, the actual frame can be slightly smaller. The rough opening needs extra space for shims, insulation, and adjustment. Measure the width at the top, middle, and bottom. Record the smallest number. Walls are rarely perfectly straight.
A 60-inch unit often uses two panels, with one fixed panel and one sliding panel. This design provides a clear opening near 30 inches. Three-panel configurations can offer a wider passage, but they need more wall and track space. Four-panel systems create a broader opening, although they may cost more and require stronger framing. Check the track depth before ordering. Interior trim, flooring, and exterior cladding can reduce available clearance.
Do not trust the old door label alone. I once treated a stated size as the exact frame measurement, and the installation became unnecessarily difficult. Check the rough opening, sill condition, head height, and wall plumbness. Use a level and a steel tape, not guesswork. Confirm whether the door slides left or right from inside the room. Glass type, screen placement, energy performance, and local safety requirements also affect the configuration. A technically correct size can still feel wrong when furniture blocks the sliding panel. Measure the room around it, too.
Assessing Wall Space, Room Layout, and Door Opening Requirements
A 60-inch sliding glass door needs more than a five-foot wall. Measure the full opening, including trim, studs, insulation, and exterior cladding. Leave enough wall space for the sliding panel to travel completely. A sofa, radiator, or tall cabinet can block that path. The U.S. Department of Energy’s Energy Saver guidance reports that windows cause 25–30% of residential heating and cooling energy use. Glass doors deserve similar attention.
Tip 1: Measure wall width at the floor, middle, and ceiling.
Tip 2: Mark the door’s travel zone with painter’s tape.
Tip 3: Check sunlight, privacy, and furniture placement together.
Tip 4: Keep nearby switches and outlets accessible.
Tip 5: Confirm the finished floor height before ordering.
Opening requirements are easy to underestimate. A nominal 60-inch door may require a larger rough opening. Follow the selected unit’s installation specifications, not a generic chart. Confirm header size, sill drainage, structural support, and the required clear opening. The 2024 International Residential Code provides residential door and egress requirements, but local adoption varies. NFRC guidance also recommends comparing U-factor and solar heat gain coefficient ratings. Lower U-factor usually improves insulation.
Tip 6: Ask a qualified installer to inspect the wall.
Tip 7: Recheck every dimension after demolition. My first layout often looks perfect on paper, but existing framing exposes the mistake. A two-inch error can change the whole installation.
7 Tips for Buying a 60-Inch Sliding Glass Door
Use these reference dimensions to assess wall space, room layout, and door-opening requirements before purchasing a 60-inch sliding glass door.
How to read the chart: A 60-inch sliding door has a nominal width of 5 feet. For accessibility planning, the 2010 ADA Standards reference a minimum 32-inch clear door opening and a 36-inch minimum accessible route width. A 72-inch planning zone represents a 60-inch unit plus 6 inches of inspection and installation allowance on each side; the manufacturer’s specifications should determine the final rough opening.
Comparing Glass Types, Frame Materials, and Energy Efficiency
7 Tips for Buying a 60 Inch Sliding Glass Door
A 60-inch sliding glass door can brighten a room, but glass choice affects comfort more than appearance. Clear tempered glass is affordable and safe, yet it transfers more heat. Low-emissivity glass helps reduce heat loss during winter and limits solar gain in summer. Double glazing performs better, especially in rooms facing strong sunlight.
Tip 1: Ask for the U-factor and solar heat gain coefficient, not vague claims about efficiency.
Lower U-factor values usually indicate better insulation. A lower solar heat gain coefficient can reduce overheating. Climate matters, though.
I once focused too heavily on insulation and overlooked afternoon sun.
Frame Materials
Frame materials deserve equal attention. Aluminum frames are slim and durable, but basic aluminum can conduct heat quickly. Look for thermally broken designs with an insulating barrier. Vinyl frames offer good insulation and modest maintenance. Wood can insulate well, but it needs regular sealing in damp or sunny locations.
Tip 2: Inspect the frame corners and drainage paths.
Small gaps can create drafts, water stains, or difficult operation.
Tip 3: Choose rollers that move smoothly under the door’s full weight.
A beautiful door is frustrating when it rattles.
Glass Safety and Installation
Glass safety also matters. Tempered glass breaks into smaller pieces, while laminated glass remains attached to an inner layer after impact. For exposed locations, laminated glazing may provide extra protection and quieter performance.
Request written energy ratings and installation details. Poor installation can cancel expensive glass upgrades.
Be realistic about the trade-off: the most efficient option may cost more and reduce visible heat, but it can improve daily comfort.
Checking Installation Methods, Hardware Quality, and Security Features
7 Tips for Buying a 60 Inch Sliding Glass Door
Measure the opening at several points, not just across the middle. Uneven walls can make a perfect-looking door bind during operation. Confirm the finished floor height, wall depth, and clearance for handles. A retrofit installation may save time, while a full-frame replacement can improve insulation and water control. Ask an experienced installer which method suits your wall condition. Do not assume the cheaper method is better.
Inspect the frame, rollers, tracks, and fasteners closely. Smooth rollers should move quietly without side-to-side wobbling. Stainless or corrosion-resistant hardware is useful in humid rooms. Check whether the threshold includes drainage paths and a reliable weather seal. Tempered safety glass is essential, while laminated glass may provide additional security and noise reduction. Small details matter.
Look for an anti-lift feature that prevents the panel from being raised off its track. A sturdy lock should engage cleanly without forcing the handle. Multi-point locking can offer stronger resistance than a single latch. Ask how the fixed panel is anchored, since weak anchors can undermine good glass. Request written installation instructions and maintenance guidance. Test the door after fitting, including its lock, seal, and movement. I once trusted a smooth first test too quickly; later, a slight floor shift exposed poor adjustment. Leave room for inspection.
Estimating Costs, Maintenance Needs, and Long-Term Performance
A 60-inch sliding glass door can look simple, but its total cost includes more than the door itself. Expect roughly $1,200 to $4,000 for the unit, installation, removal, trim, and waterproofing. Local labor rates and wall conditions can change this estimate quickly. Measure the opening twice. A small error may require expensive framing work.
Tip 1: Request an itemized estimate. Check whether it includes delivery, disposal, exterior flashing, interior finishing, and permit-related fees. I once underestimated the cost of repairing hidden water damage. That mistake changed the budget completely. Ask how much extra work would cost before installation begins.
Maintenance affects long-term performance. Clean the track every few months, remove grit from the rollers, and inspect the seals after heavy rain. A soft brush works better than forcing debris into the corners. Choose durable rollers and weather-resistant framing, but do not assume expensive materials guarantee smooth operation. Glass thickness, installation quality, drainage, and daily use matter too. Tip 2: Test the door before final payment. It should glide without scraping, shaking, or unusual noise. Tip 3: Confirm the adjustment and warranty terms in writing. A perfect estimate is impossible. Careful inspection remains practical.